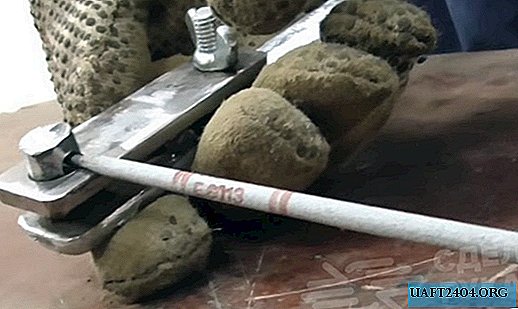
For welding at home, it is not necessary to buy an expensive electrode holder - you can also make a home-made metal clamp-clamp, which in its performance characteristics will be no worse than the factory counterpart.

And for this you will need a regular steel strip 3 cm wide, a piece of a round bar and a bolt with a wing nut. Despite the simplicity of the design, a self-made welding holder has certain advantages - namely, small dimensions and relatively low weight.
Due to this, a home-made holder is very convenient and easy to control the electrode during the welding process. A clamp made of a piece of strip with a wing nut reliably and firmly fixes the welding rod, while ensuring good electrical contact.
The main stages of work

From a steel strip 3 cm wide, cut two pieces 22 cm and 8 cm long, the edges of which must be rounded on a grinding wheel or belt grinder. Then in the upper part of the workpieces we drill two holes, between which you need to weld a piece of a steel rod (for example, from the electrode).

Another small hole must be drilled at the bottom of a long strip. Then cut off from the metal round the "barrel" in which you first need to drill a hole for the electrode. At the next stage, we collect all the details together.

The result is a simple but practical do-it-yourself electrode holder. The detailed manufacturing process of the holder can be seen in the video on the site.


