Share
Pin
Tweet
Send
Share
Send
For this we need:
- - Thick paper for watercolors (white, not glossy cardboard is also suitable);
- - scissors;
- - brush;
- - ruler;
- - a pencil;
- - black gel pen;
- - watercolor (orange, yellow, brown, green, blue).
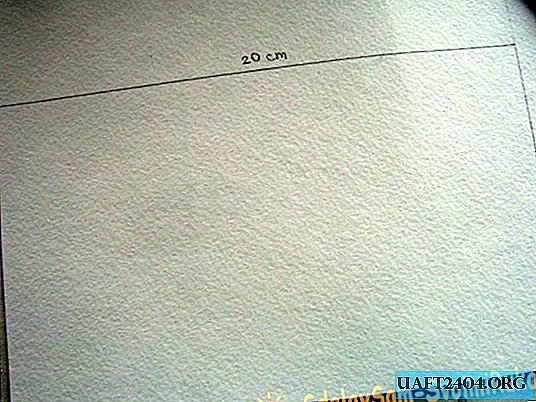
Step 1. We take paper for watercolor, draw a rectangle, this will be the basis of the card (length 20 cm, width 12 cm). Cut and fold in half.
Step 2. Then with a pencil we draw the head of the fox, it should look like a concave triangle.

Step 3. Draw the body and tail of the chanterelle, as shown in the photo.

Step 4. Note the details: select the tip of the tail, draw the legs, eyes, ears and nose.

Step 5. Above the head of the chanterelle we will write: "For you, my Fox" (which in translation from English means: "For you, my Chanterelle"). This inscription can be replaced by any other, for example: "I love you" or "For you!"

Step 6. On the inside of the card, draw an oval, congratulation will be placed here. Add leaves in a circle.

Step 7. Circle the oval in brown watercolor. And the leaves are painted in green.


Step 8. Back to the chanterelle. I decided to add a collar. We paint the muzzle with orange watercolor, and add the yellow watercolor to the ears.

Step 9. Next, paint the body with orange watercolor, and paint the tail with yellow, the brighter the colors, the better our postcard will look. Try to keep the color transition smooth. To do this, add more water to the area where the junction of flowers.

Step 10. Circle “For you, my Fox” in brown.

Step 11. Now we outline the chanterelle in brown watercolor. Wait until the paint is completely dry, so that nothing spreads. We circle and color the nose and eyes with a black gel pen.

Step 12. Make the shadow of the chanterelle, in blue watercolor.

DIY cute painted greeting card is ready! It remains only to write a congratulation and you can give it. You can make a huge number of such cards and give them to all your friends and relatives!


Share
Pin
Tweet
Send
Share
Send

