Share
Pin
Tweet
Send
Share
Send
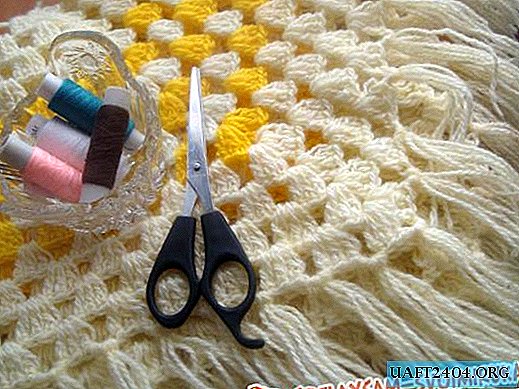
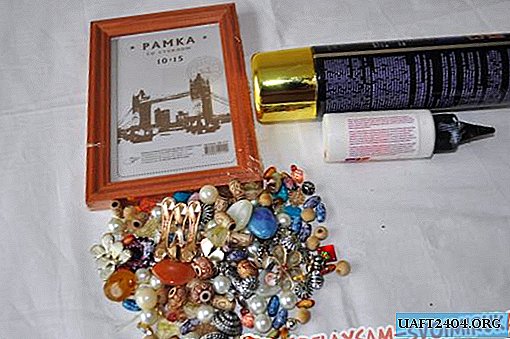
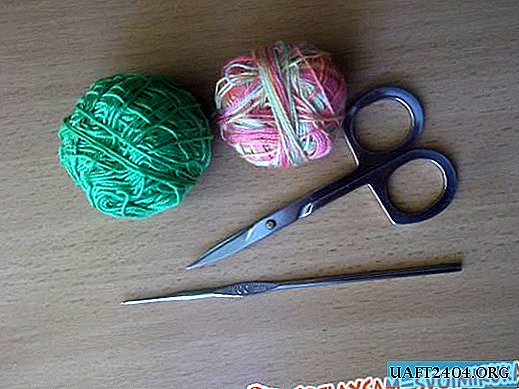
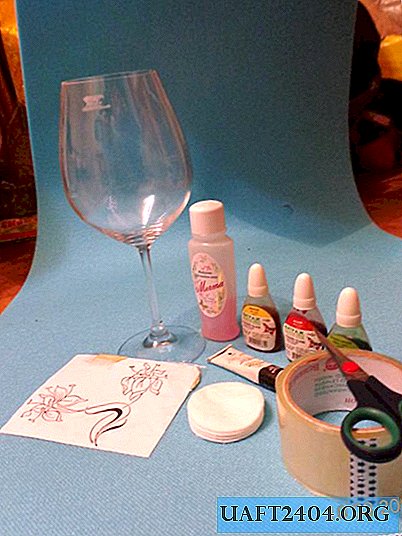
Before starting work, it is necessary to decide which pattern will be applied to the glass. In this master class, lilies act as a drawing. Having printed the selected drawing of the right size in advance, it is necessary to prepare all the materials for work. For work you will need: a glass (on which the painting will be made), a degreaser (a means for removing varnish with acetone is allowed), cotton pads (or some other rag that does not leave fibers), a prepared drawing, adhesive tape (transparent or paper), scissors, stained glass contour and paints (in this water-based workshop).
Necessary materials and tools.
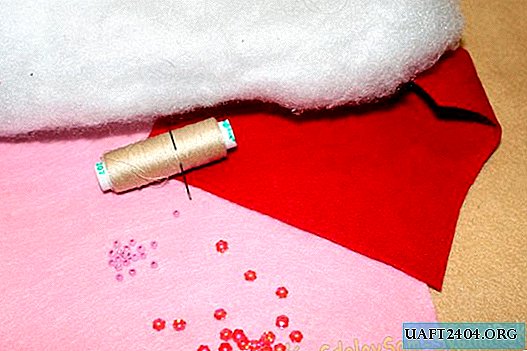
After everything is prepared, you can begin to work. The workplace should be comfortable and clean. It’s better to have some materials on hand (rags or paper) in order to wipe the leaky tube and remove excess from the dispenser. You can also stock up with either cotton buds or toothpicks so that you can immediately correct the flaws. And better both.
The next step will be to fix the picture on the glass, or rather, in the glass. The image should be fixed from the inside, which is quite logical. You can fix it with adhesive tape. Carefully in small pieces on top and bottom. It is worthwhile to be careful and secure so that the adhesive tape does not fall into the area of the image itself (in places where paint or contour will be applied).
A glass with a fixed pattern.

After the drawing is firmly fixed and there is complete confidence that it will not fall off and will not move and crawl, you can proceed to the next stage. This step is surface preparation. Sometimes there are labels on new glasses, and simply all surfaces, by definition, have a greasy layer. In connection with these facts, it is necessary to clean and degrease the surface intended for processing. As a degreaser, alcohol, acetone, gasoline-galosh can be suitable. Unfortunately, these funds are very fragrant and are not always at hand. In this case, a means for removing varnish with acetone may come off as a degreaser. Every decent girl has it. The surface where it is supposed to be a pattern is wiped with a cotton pad or a piece of cloth soaked in a degreaser. After surface treatment, the glass must be conveniently placed in a horizontal position. It is in the horizontal position that the paint spreads least, which prevents uneven filling with color. It is recommended to use a pillow as a substrate, it protects the glass from hard surfaces and minimizes the likelihood of breaking or scratching the glass. Also, the glass can be tied to a pillow so that it cannot fall off it, but this is already at will and preference.
Low fat glass on the pillow.

The next step will be the application of the contour. Due to the fact that the glass has a spherical shape, the image is distorted. Therefore, for a more accurate, correct and beautiful drawing, it is necessary to apply the paint-contour looking at the image strictly perpendicular, you can still close one eye for greater accuracy. Otherwise, the proportions of the picture will be violated and beauty will not work. Contour paint is most often available in tubes with a narrow nose. This nose is a "brush". Gently, evenly squeezing the paste-like mass, it is necessary to apply paint on the surface of the glass along the contour of the picture. It is always necessary to ensure that the circuit does not have voids and does not interrupt. In the case of a non-uniformity and heterogeneity of the contour, color paints may leak out of it. This can ruin the picture very much.
If the selected drawing consists of two parts, as in this master class, then the application of paint will take place in two stages. One stage on one plane. Having applied the contour of the first plane, we leave the glass to dry at room temperature. Drying time depends on the type and manufacturer of the contour paint. On her packaging this time must be indicated. On average, it takes about two hours.
A glass with a contour on the first plane.

After the outline on the first plane has dried out, the glass gently flips so that the second plane is perpendicular to the look. Further, by a similar method, a contour is applied to the second plane. If there are more than two planes, then similar actions are performed with each of them in the same sequence.
A glass with a contour on the second plane.

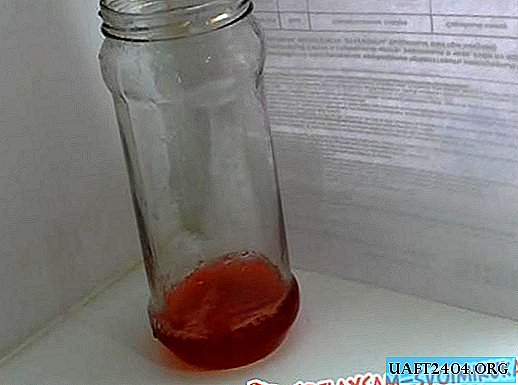
After all the contours are thoroughly dried, you can proceed to the next step: filling with color. First you need to put the glass again with the first plane up perpendicular to the view. When opening a bottle of paint, be prepared that the paint itself can immediately leak out, even if the spout is up. Do not be scared, it is best to remove the excess and carefully start filling. Filling the color with a picture, special attention should be paid to the presence of air bubbles. They occur, as a rule, with the first drops or if the nose of the tube is often torn off the surface. Also, do not forget that all the necessary sections must be completely filled, in every corner, at each circuit. Otherwise, it will be of poor quality and ugly. After all the necessary areas on the first plane are filled, the paint must be dried. Drying occurs at room temperature. The time depends on the type and manufacturer of the paint, but on average this time is 24 hours. Detailed information is indicated on the packaging or on the tubes.
After the first surface is dried in a similar way, the second plane is filled. Other planes, if any, are filled in the same sequence. When all the planes are filled, it is advisable to leave the glasses to dry for some more time. Make sure that the paint has dried can be done with gentle, gentle movements of the finger across the paint. The main thing is without fanaticism, otherwise ugly fingerprints may remain.
A glass with a pattern filled with color.

After the paint has completely dried, it is necessary to carefully examine the resulting drawing. As a rule, there are always small flaws (a little extra contour, the color crawled out of bounds). The next step will be the adjustment of these same flaws. To do this, you need a tool (in our case, nail polish remover), cotton buds or cotton pads in tandem with a toothpick. By applying fluids to the cotton - in the case of a disc, also placing a toothpick - carefully and accurately remove the excess. Contact with the main pattern must be avoided because there is a risk of spoiling it. Having removed all the excess, we get a ready-made glass.
Ready glass with painting.

It will take about two to three days to paint one glass. The key is drying time. Such glasses will be an unusual decoration of any home. They can also be the most unforgettable gift!
Share
Pin
Tweet
Send
Share
Send