Share
Pin
Tweet
Send
Share
Send
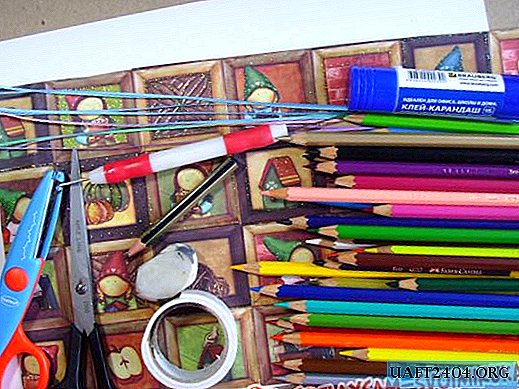
First you need to cook everything you need:
- colour pencils;
- paper;
- scissors;
- curly scissors;
- eraser;
- a simple pencil;
- paper intended for quilling;
- double-sided tape;
- tool for paper rolling;
- double-sided scrapbooking paper;
- glue stick.
Now you can start drawing:
1. Gently bend a sheet of scrapbooking paper in half;

2. With a simple pencil on one half of a sheet of paper draw a sitting cat and a vase of flowers;

3. Erase the pencil lines with the eraser and color both drawings with colored pencils;

4. Scissors cut a cat and a vase;

5. Using a paper-rolling tool, make several quilling elements, securing each of them with glue;

6. Glue the spot on one of the drawings, where the flowers should be located. Glue quilling elements to this place. If there were not enough elements, make a few more;

7. Turn both pictures over with the back side and stick a piece of double-sided tape on them. After that, stick both pictures on the front side of the card;

8. On the remaining half of the white sheet of paper, draw a congratulatory inscription with a simple pencil;

9. Erase the pencil lines and color the letters with colored pencils. Make the background yellow;

10. Cut the inscription with scissors;

11. Turn over the inscription and stick on its back a few pieces of double-sided tape;
12. Glue the inscription above the cat and the bouquet;

13. From the rest of the sheet of paper, cut a small rectangle using curly scissors;

14. Using double-sided tape, stick the rectangle inside the card. You can write wishes on it.

Now the original card with quilling elements is ready! It will be a wonderful gift for almost any holiday. You just have to write good wishes inside it.
Share
Pin
Tweet
Send
Share
Send

